CountBooks Designer

Use this to build a new CountBooks design template

CountBooks > Open Designer

CountBooks allows the user to prepare a print ready version of your count data program. This let's you add images, map, table, charts, titles and branding. Organize the information in the traffic data in any specific way that is needed. The software will produce a html or PDF document, which can be sent to a printer or shared on the web.

Screen image of Structure

Overview of CountBooks Designer

Figure 1. Tool Bar. Use these tool bars to export the document, delete elements, and add elements. The elements that can be added includes: sections, page, section elements.
Screen image of Current Structure Pane Screen image of Current Sctructure Pane
Figure 2. Document Outline. Use this section to see what elements are added to your document and what organization structure they are in. A CountBook can include Document, Sections, Pages, Tables, Charts, Listing, Images, Scenes. Here you can drag elements to be in a different order.
Screen image of Document Outline Pane
Figure 3. Edit Properties Screen. Use this screen to edit the title, theme, size, and placement of an element.
Screen image of Document Options Tab

Share and Open

You are able to share CountBooks with other users for collabration work. In order to share your CountBook, you must sign in. Go to My Account to sign in.

Figure 4. Share and Open Buttons. Click the share button and then enter an email to share. Click the open button to edit a CountBook that another user has shared with you.
Screen image of share and open buttons

Sections

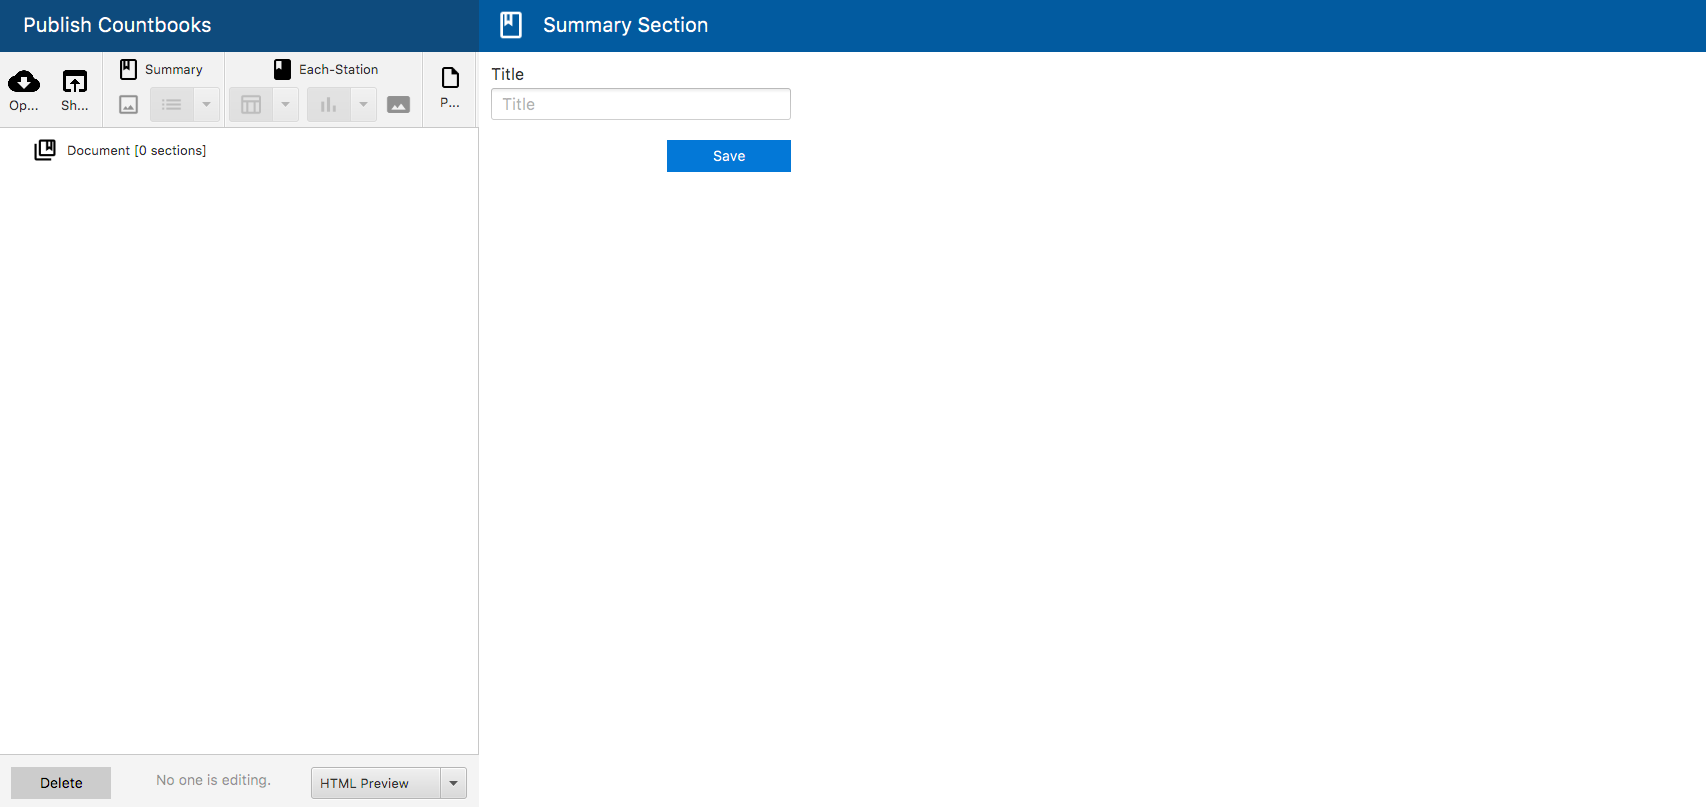
There are two kinds of sections: Summary Section and Each Station Section

Summary Section lets you include a summary, or a listing.

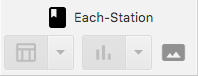
Each Station Section lets you insert a fragments for each station in your project.

When creating a section, a page will be created in which you can add fragments
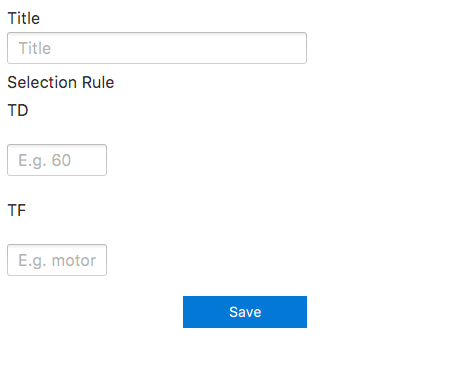
Figure 5. Add Each Station Section. Use this to add a each station section. In this section you will be able to add a fragement and a scene.
Screen image of Each Station Section
Figure 6. Add Summary Section. Use this to add a summary section. In this section you will be able to add an image and listing.
Screen image of Summary Section

Fragments

The different types of Fragments include: table, chart.

Note: Fragments can only be added to a page located in a Each-Station Section. That page must be selected.

Select a type of data to be produced in your CountBook from the dropdown and click either Table or Chart

Figure 7. Add Fragment. Add a Fragment in chart or table form
Screen image of Button

Click here to find more about each fragment: Fragments
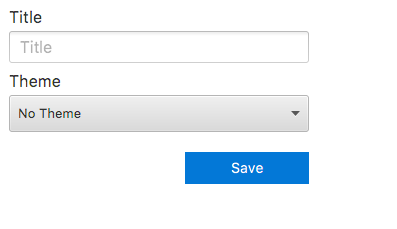
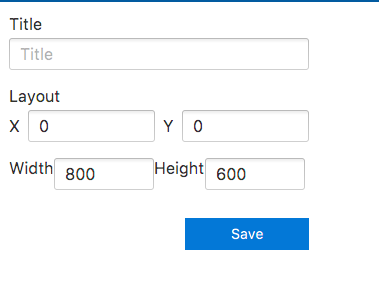
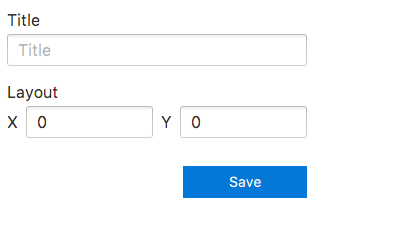
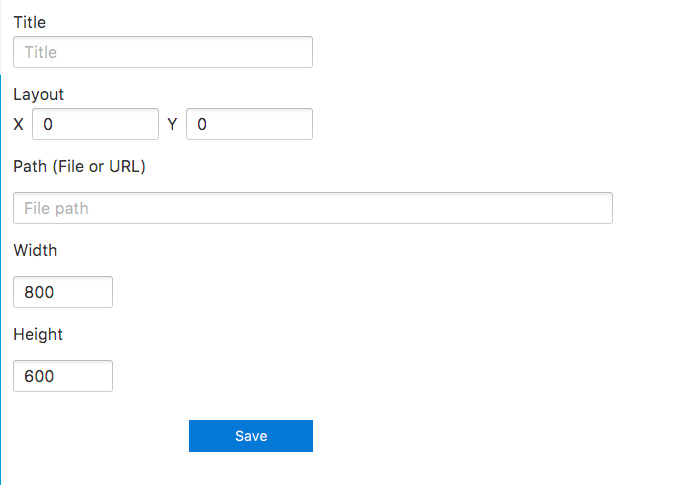
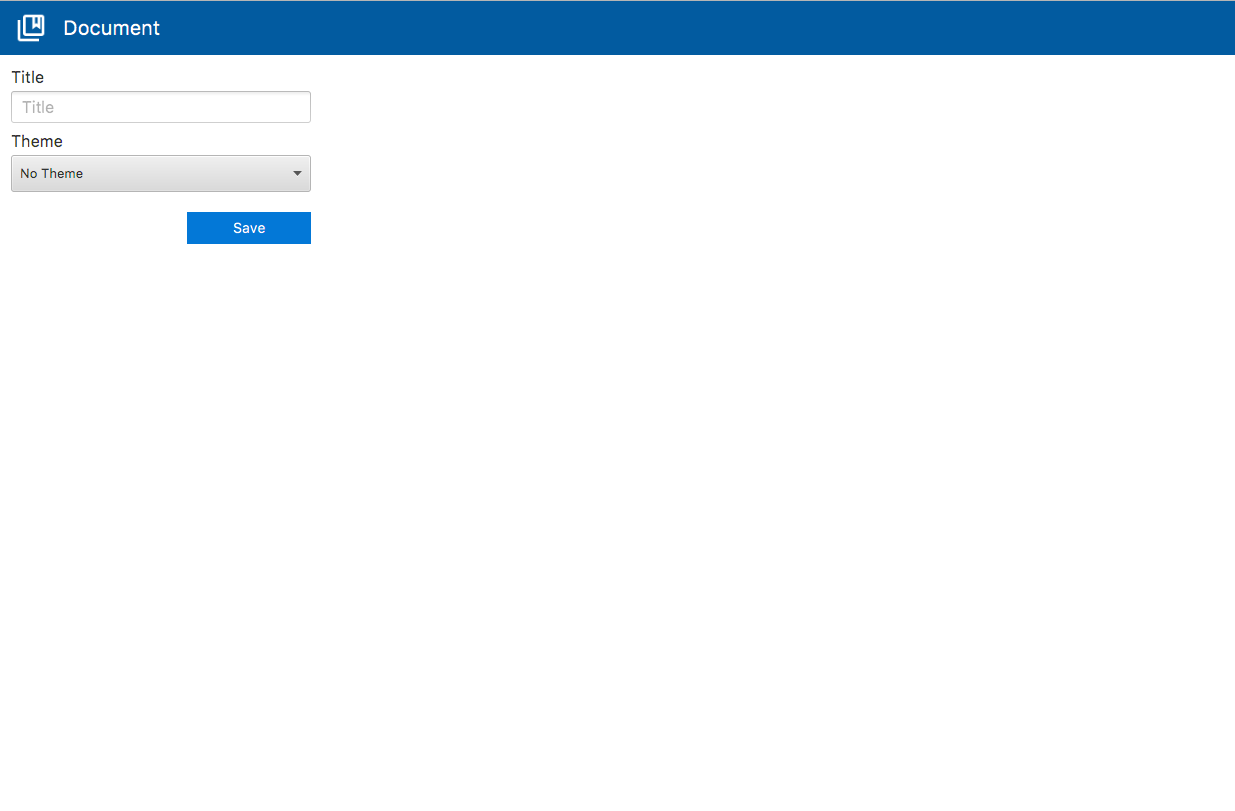
Pages

Pages are created so that Tables, Charts, Listing, Images, Scenes can be added.

To add a page a section must be selected since sections contain pages and can not be outside of a section.

Figure 8. Add Page. Use this to add a page
Screen image of Add Page buttons

Export Methods

Pick from the dropdown which format you want to export your CountBook project as. The options are: HTML, Excel, Powerpoint, and PDF.

Figure 9. Export the CountBooks into these different formats.. This Excel document is then created. It allows you to style the outputs in preparation for a published book

Screen image of buttons

Editing Element Properties

You can change properties of each element in your CountBook

Just click an element and go to the edit properties screen on the right side of your screen.

Figure 10. Document Edit Properties Screen. This is the edit properties screen for the Document. You are able to change the title and theme (light and dark) of the document.
Screen image of document edit properties
Figure 11. Each-Station Edit Properties Screen. This is the edit properties screen for a Each-Station Section. You are able to change the title and selection rules.
Screen image of Each-Station edit properties
Figure 12. Summary Edit Properties Screen. This is the edit properties screen for a Summary Section. You are able to change the title and selection rules.
Screen image of Summary edit properties
Figure 13. Page Edit Properties Screen. This is the edit properties screen for a Page. You are able to change the title.
Screen image of Page edit properties
Figure 14. Fragment Edit Properties Screen. This is the edit properties screen for a Fragment. You are able to change the title, position of the element, and size of the element. Change the position by changing the X and Y coordinates in the X and Y fields. Change the size of the element by changing the width and height in the width and height fields.

Screen image of fragment edit properties
Figure 15. Scene Edit Properties Screen. This is the edit properties screen for a Scene. You are able to change the title and position of the element. Change the position by changing the X and Y coordinates in the X and Y fields.
Screen image of scene edit properties
Figure 16. Image Edit Properties Screen. This is the edit properties screen for a Image. To insert a picture enter the path or URL of the image in the file path field. You are able to change the title, position of the element, and size of the element. Change the position by changing the X and Y coordinates in the X and Y fields. Change the size of the element by changing the width and height in the width and height fields.
Screen image of image edit properties
Figure 17. Listing Edit Properties Screen. This is the edit properties screen for a Listing. You are able to change the title and position of the element. Change the position by changing the X and Y coordinates in the X and Y fields.
Screen image of listing edit properties